Counties and Zones
Setting Up Your Service Areas and Travel Fees
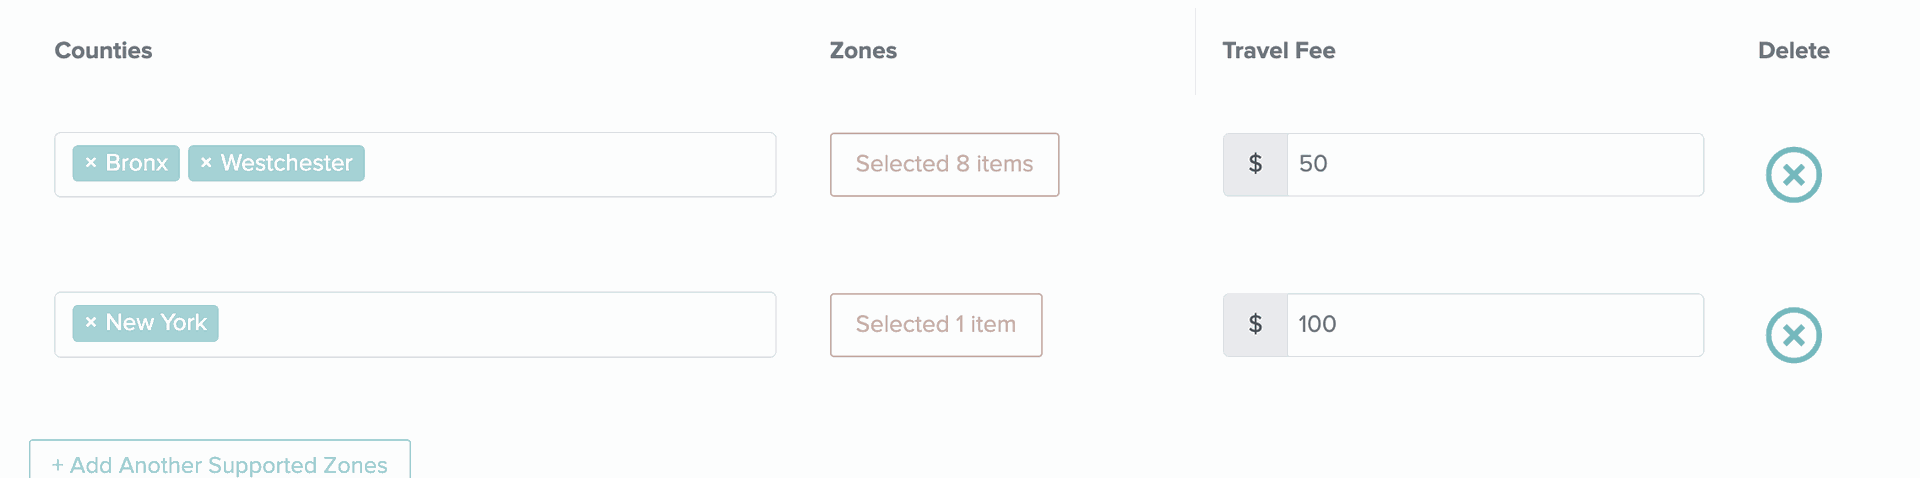
The Counties section lets you specify the exact areas where you are available to serve clients — down to specific cities or neighborhoods — and set custom travel fees for each group of areas if you wish.

Step 1: Select Counties
- Click inside the Counties field to open a dropdown list.
-
Start typing a county name (for example, Alameda, Atlantic, or Lassen) or scroll to find it.
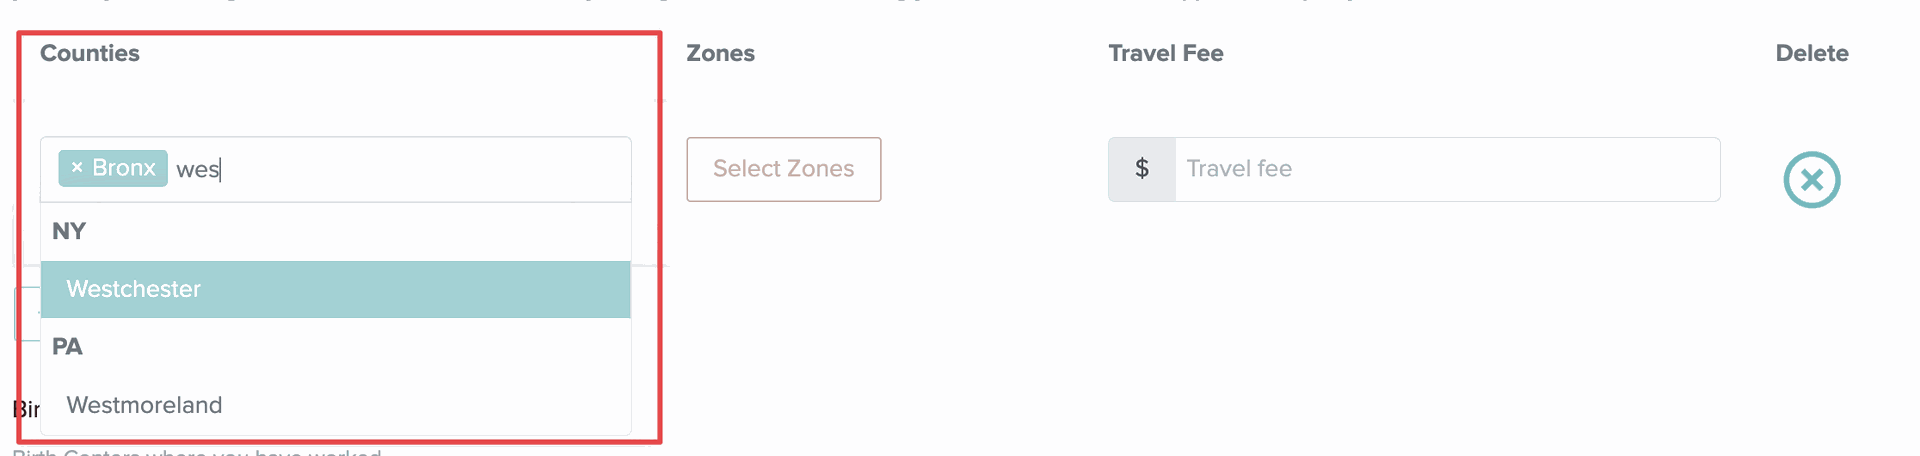
- Click the county name to select it.
- You can select multiple counties in this list.
Once selected, the system will automatically populate the Zones column with all the smaller areas (cities, towns, or neighborhoods) within those counties.
Step 2: Choose Zones Within Each County
- Click on Select Zones dropdown button to select the areas.
- Click inside the Zones dropdown to see all cities or neighborhoods within that county.
-
Select the specific zones where you’d like to provide services.
- You can use the search bar to find locations faster.
- You can select as many as you like.
-
The number of selected zones will display (e.g., “Selected 4 items”).
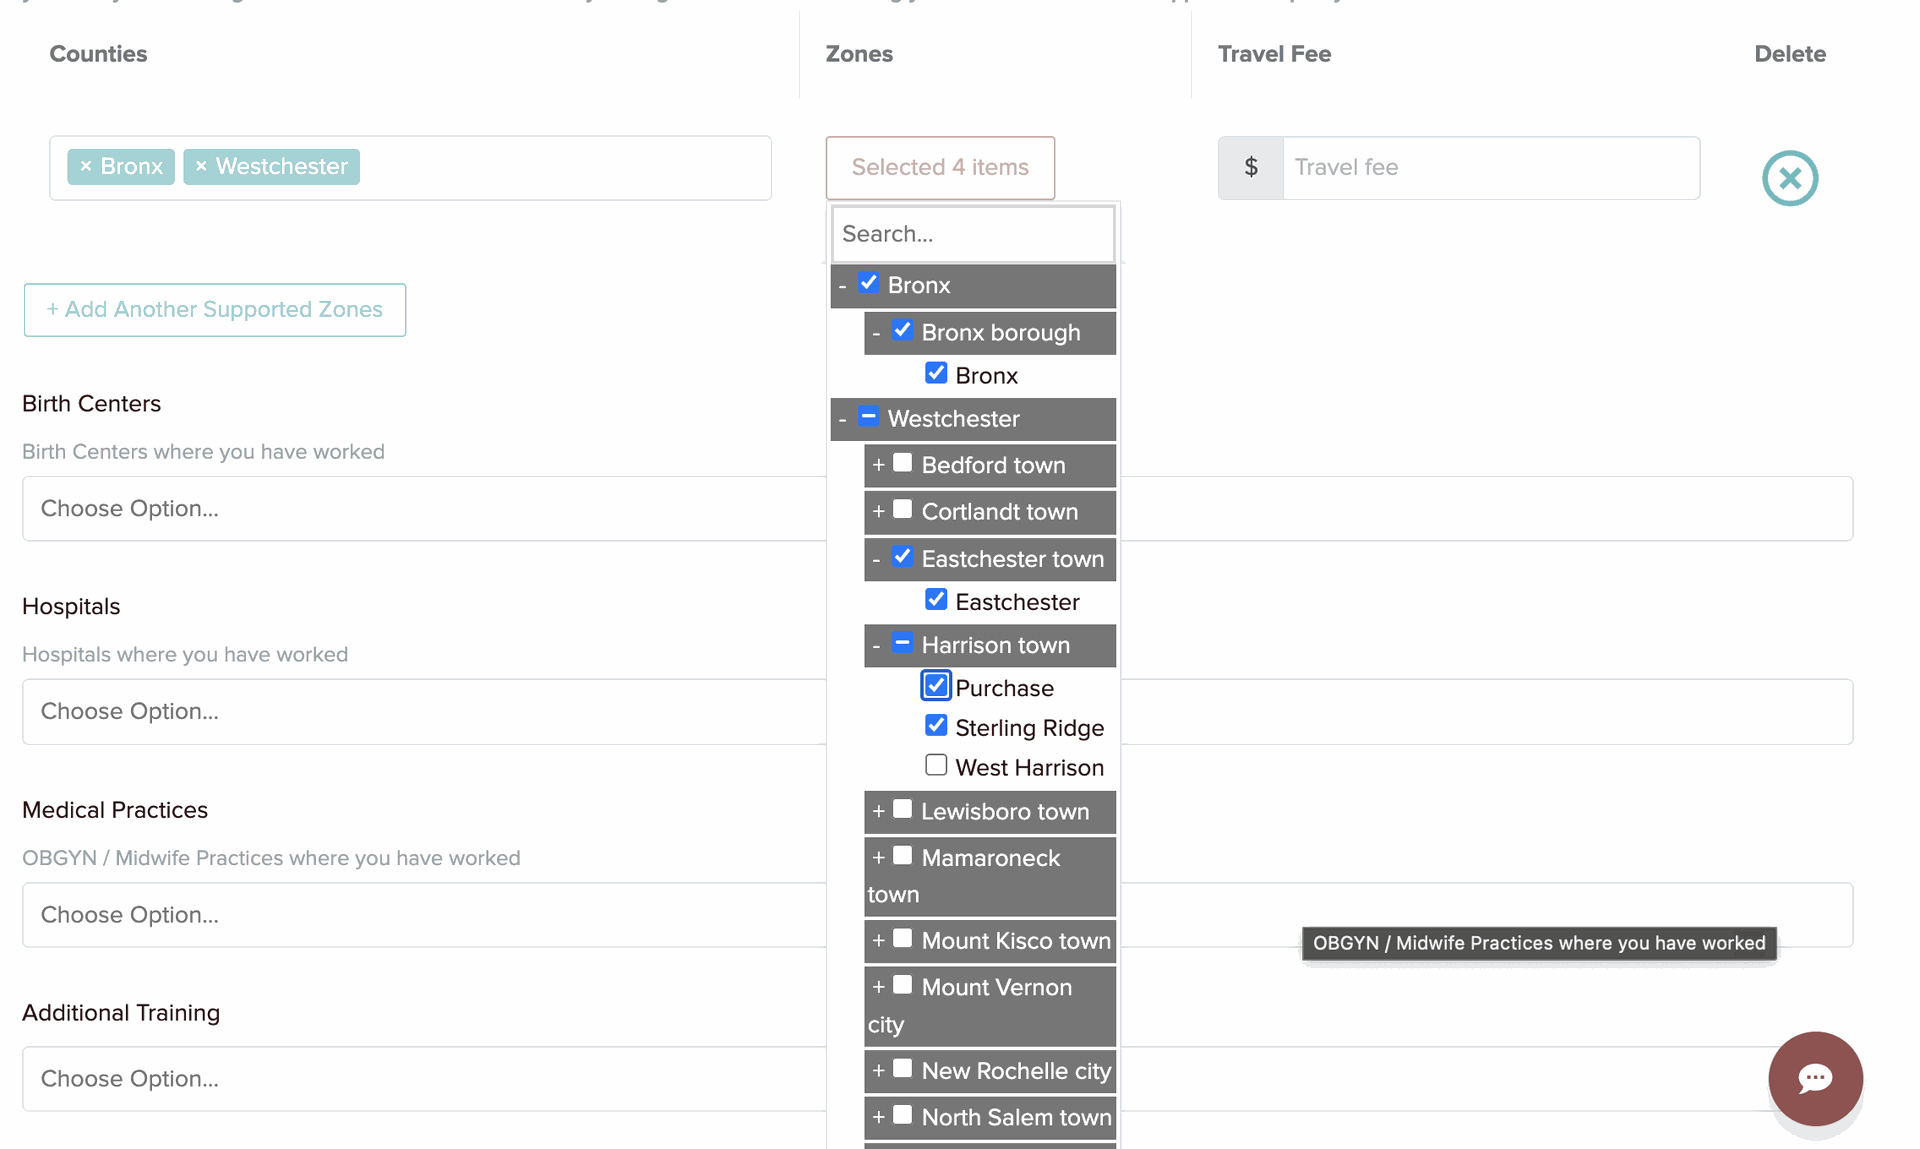
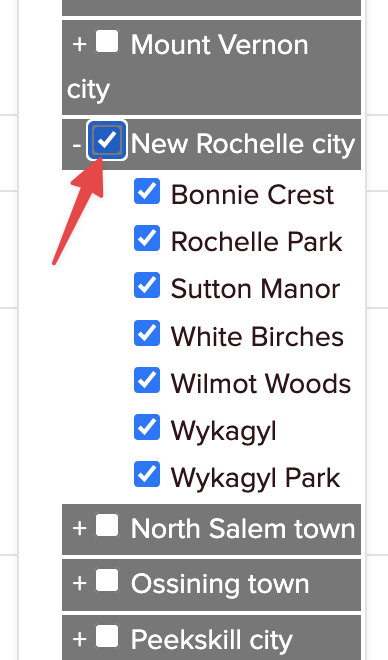
- To select all the zones listed under a specific county, you can simply select the checkbox for that county
Step 3: Set a Travel Fee (Optional)
You can add a travel fee for the areas in that county/counties if you charge extra for certain distances or regions.
- Enter the fee amount in the Travel Fee field.
- The fee you enter will apply to all the zones selected in that group of counties.
Step 4: Add Another Zones Group (for different travel fees)
If you serve multiple areas with different travel fees, use this button to create separate groups:
- Click + Add Another Zones Group.
- A new row will appear with its own Counties, Zones, and Travel Fee fields.
- Repeat Steps 1–3 to configure additional sets of areas and fees.
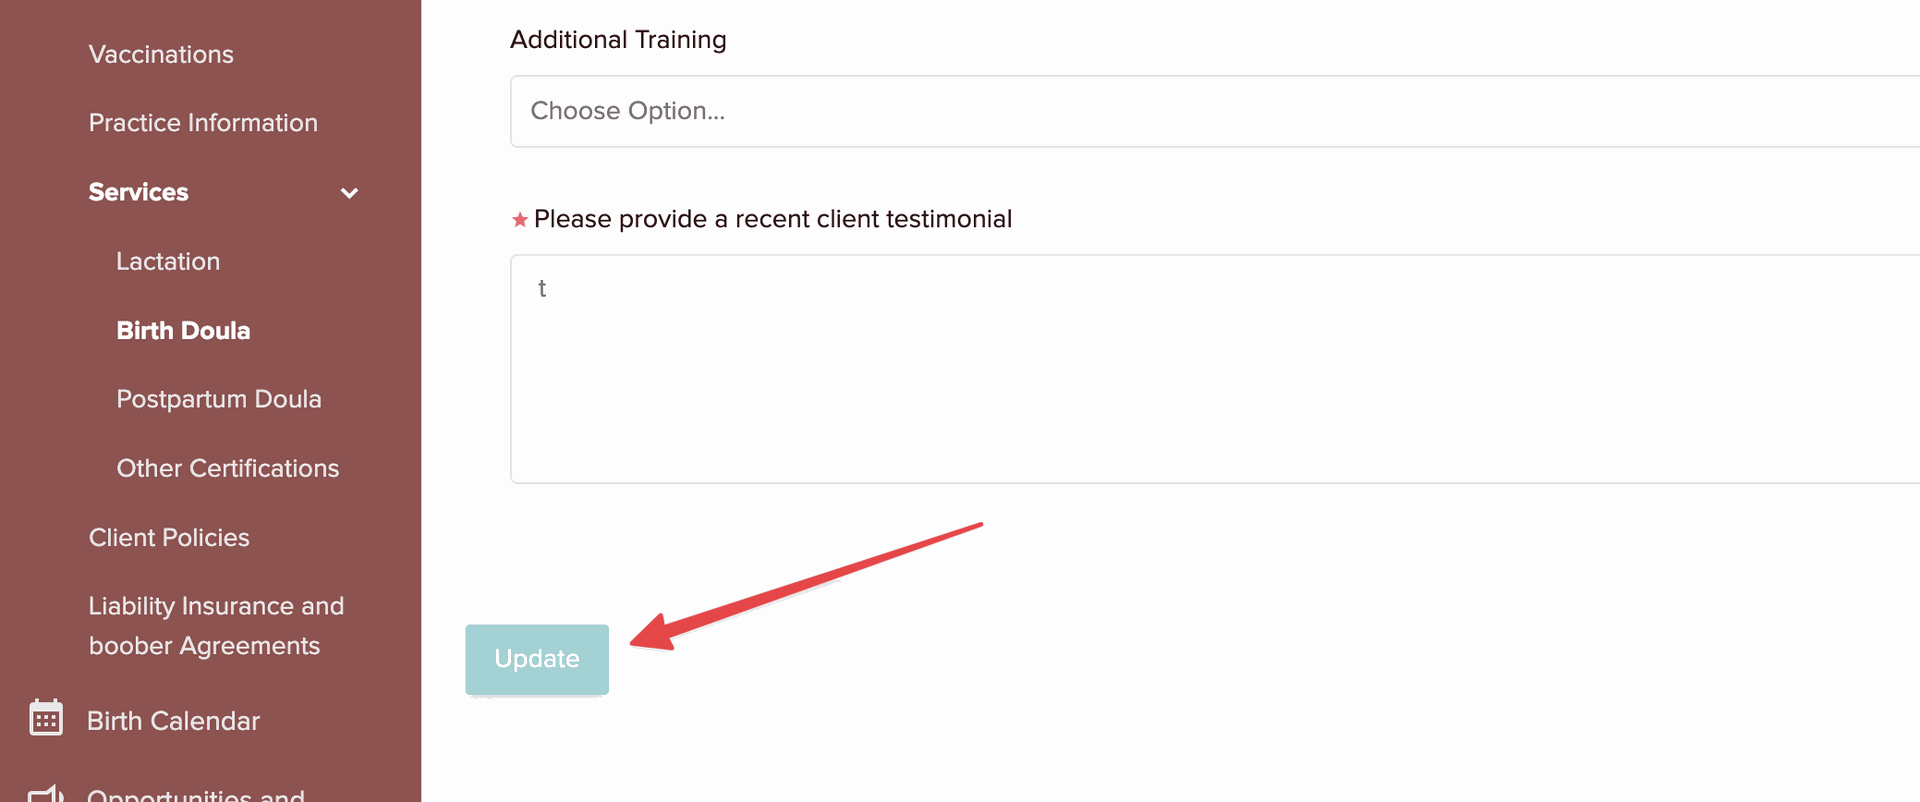
Step 5: Save Your Changes
After selecting your counties, zones, and travel fees, click Update to save your preferences.